Pro Techniques
How to Make Homemade Chili Oil in 5 Minutes
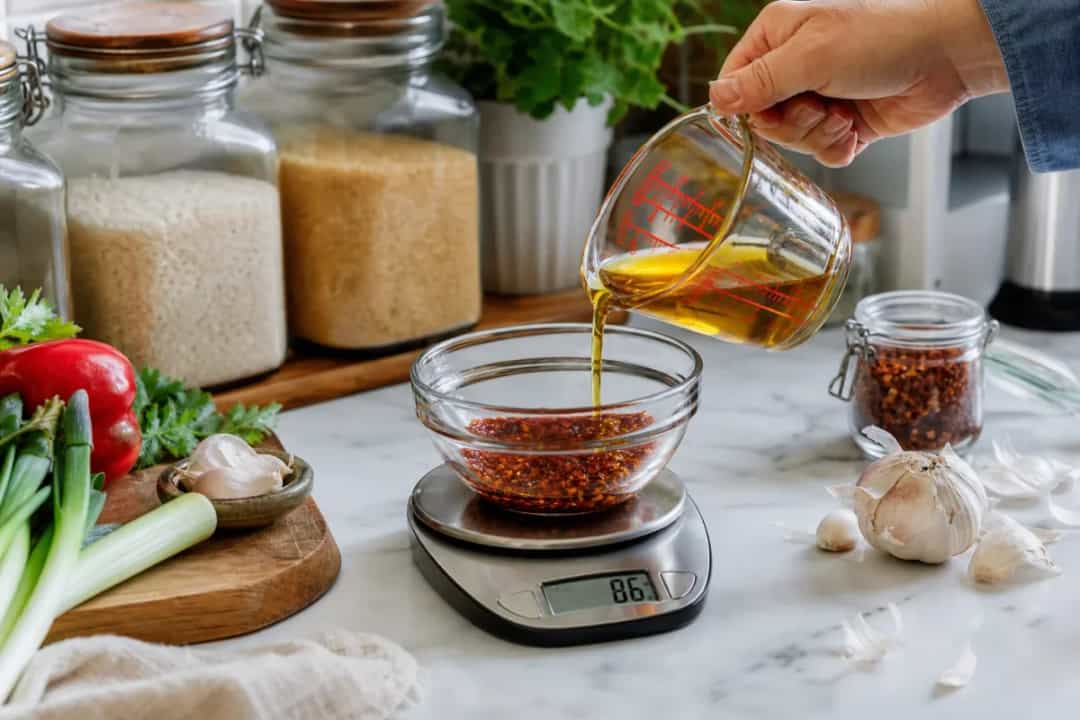
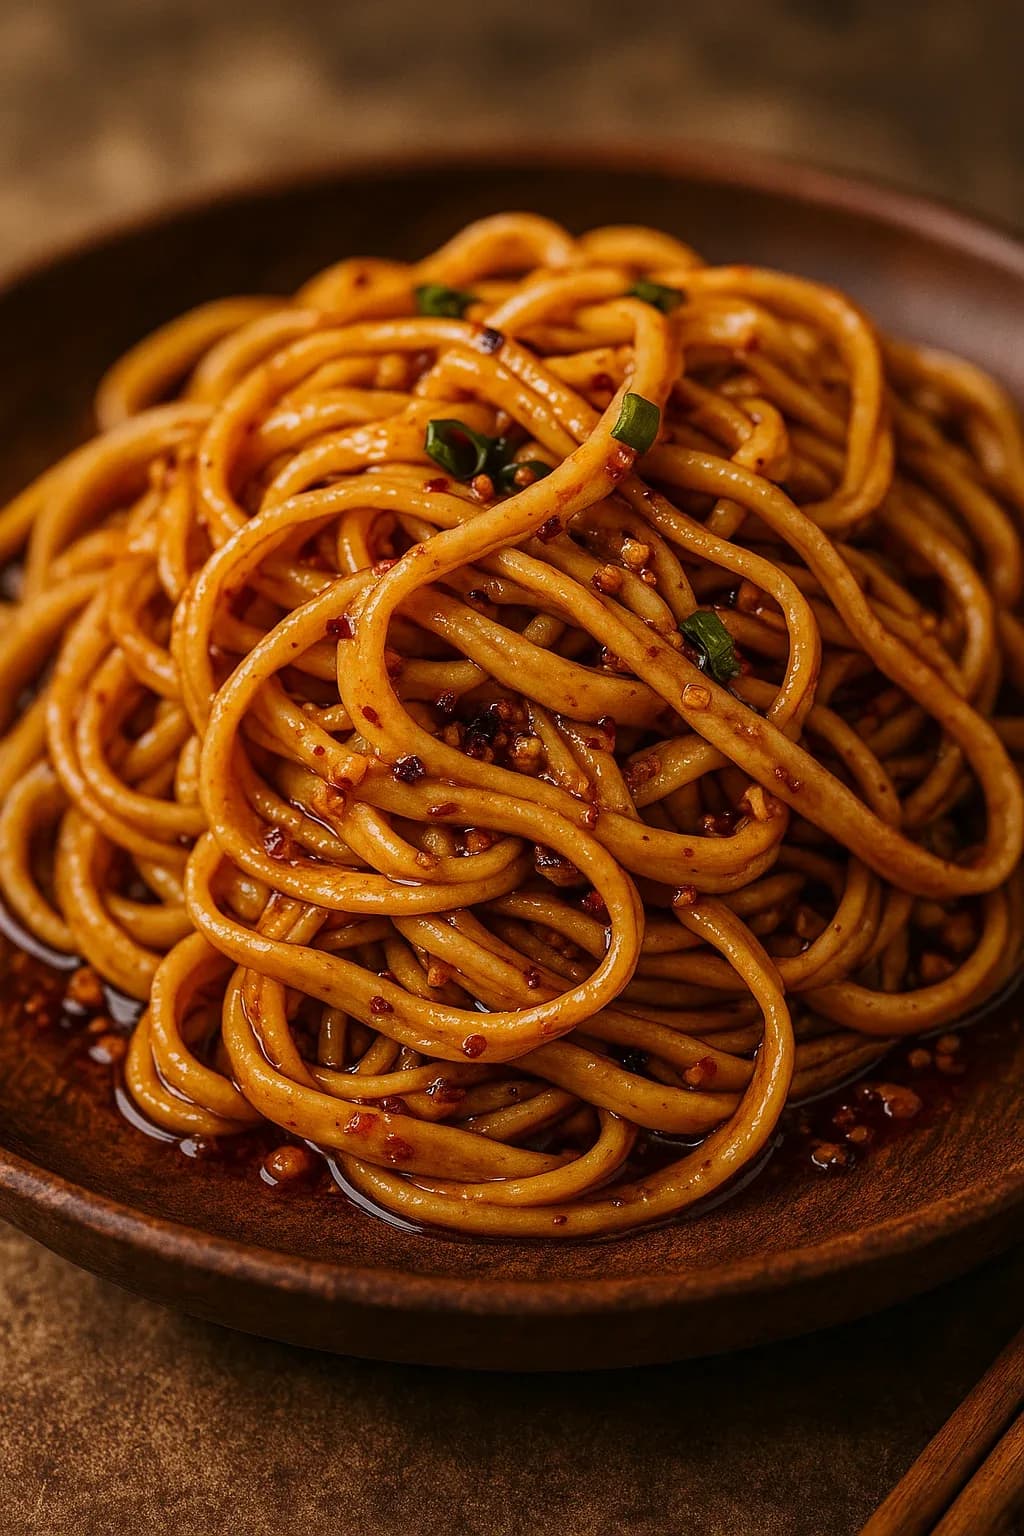
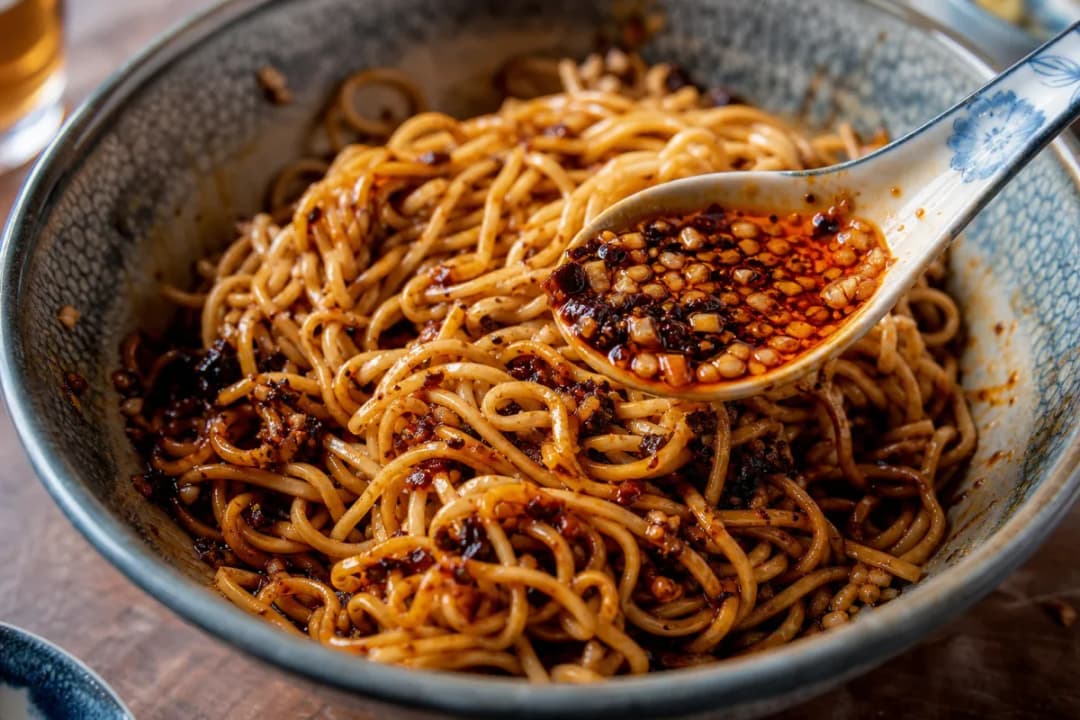
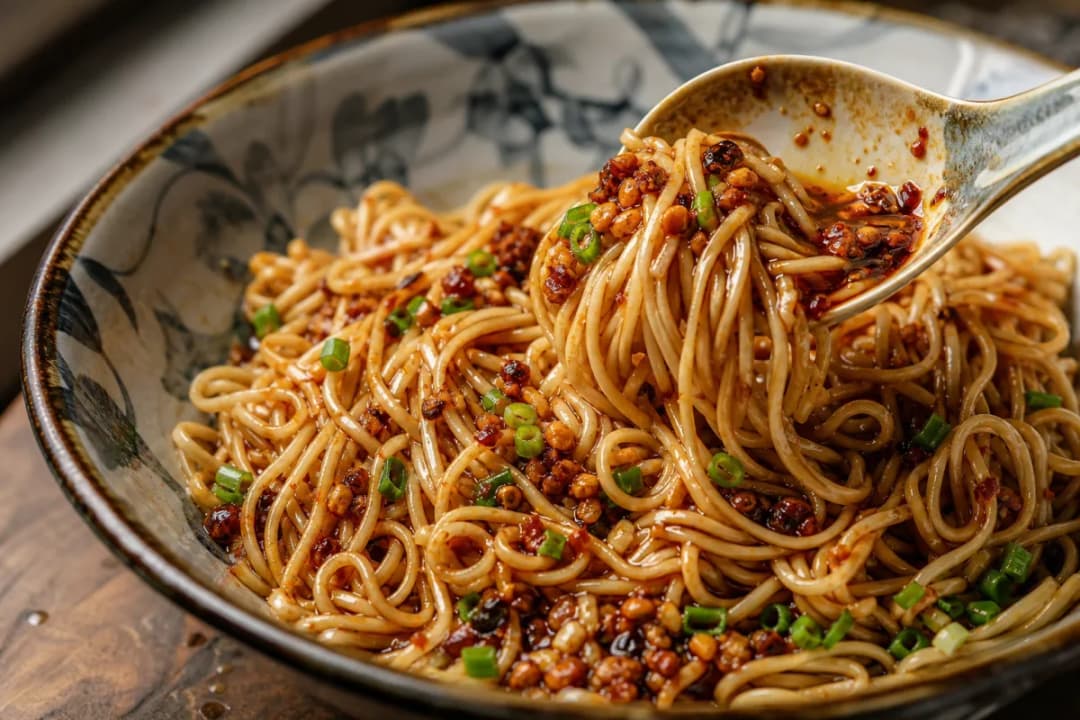
Chili oil is a flavorful addition to your kitchen, enhancing dishes from noodles to grilled meats. However, store-bought versions can be expensive and often lack freshness. With just a few ingredients and a bit of time, you can create a vibrant chili oil that suits your taste.
Ingredients Needed
- 1 cup neutral oil (such as canola or vegetable)
- 3-4 tbsp crushed red pepper flakes
- 1 tsp garlic (minced or sliced, optional)
- 1 tsp ginger (minced or sliced, optional)
- 1-2 tbsp sesame oil (optional for added flavor)
Steps to Make Chili Oil
1. Heat the Oil
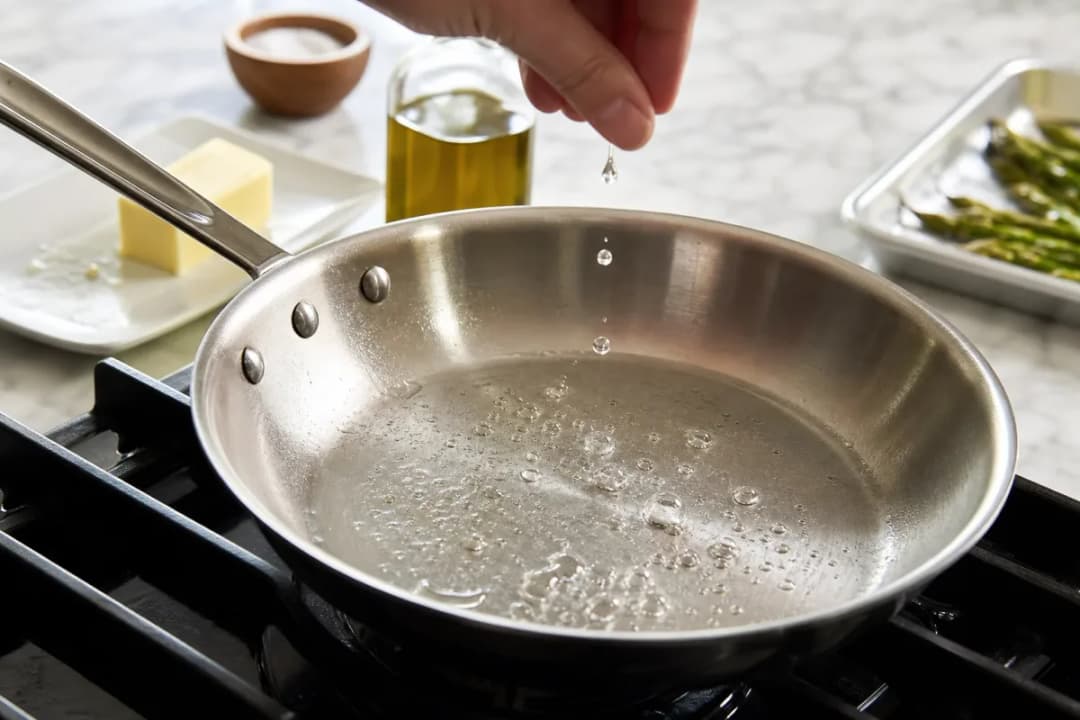
- In a small saucepan, pour in 1 cup of neutral oil.
- Heat over medium-low heat until it reaches about 250°F. You can test the temperature by dropping in a few red pepper flakes — they should sizzle gently but not burn.
2. Add the Flavors
- Once the oil is hot, carefully add in 3-4 tbsp of crushed red pepper flakes.
- If desired, add 1 tsp of minced garlic and/or 1 tsp of minced ginger. This step will add depth to your oil.
3. Infuse and Cool
- Remove the saucepan from the heat and let it cool for about 10-15 minutes. This allows the flavors to meld together.
- If you used garlic or ginger, strain the oil through a fine mesh sieve or cheesecloth to remove solids, ensuring a smooth finish.
4. Store the Oil
- Pour your chili oil into a clean, dry glass jar or bottle for storage. It can be kept in the refrigerator for up to 1 month or at room temperature for 2 weeks.
| Item | Amount | Notes |
|---|---|---|
| Neutral oil | 1 cup | Canola or vegetable oil |
| Crushed red pepper | 3-4 tbsp | Adjust for desired spice level |
| Garlic | 1 tsp | Optional, for added flavor |
| Ginger | 1 tsp | Optional, for added flavor |
Pro Tips
- Customize the spice level: Adjust the amount of crushed red pepper flakes based on your heat preference. More flakes mean spicier oil!
- Infuse longer for more flavor: If you have extra time, let the oil sit for 1-2 hours after cooling to deepen the flavor before bottling.
- Use flavored oils: Experiment with different oils like olive oil for a unique taste.
Safety Note
Be cautious when heating oil; overheating can cause smoke and potentially a fire hazard. Always monitor the temperature and avoid leaving it unattended.
Conclusion
Making homemade chili oil is a quick and easy way to add flavor to your meals. Try these simple steps to whip up your own batch and elevate your dishes with a touch of heat!
Frequently Asked Questions
- How long does homemade chili oil last?
- Homemade chili oil can last up to 1 month in the refrigerator or 2 weeks at room temperature.
- Can I use other oils for chili oil?
- Yes, you can use other oils like olive oil or sesame oil for different flavor profiles.
- How spicy will the chili oil be?
- The spiciness of the chili oil depends on the amount of crushed red pepper flakes used; adjust to your preference.
- Do I need to strain the oil?
- Straining the oil is recommended to remove any solids, ensuring a smooth finish.
- Can I add other spices to chili oil?
- Absolutely! You can experiment by adding spices like cumin or herbs for a unique flavor.