Tips & Tricks
How to Render Duck Fat Without Burning
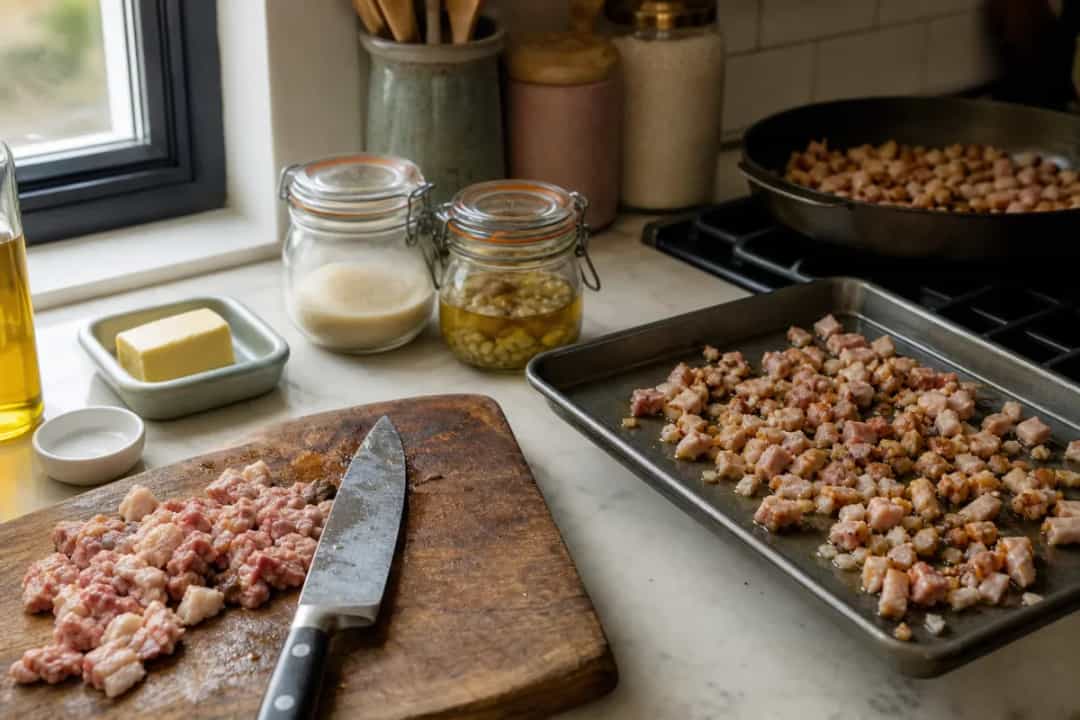
Rendering duck fat is a fantastic way to utilize every part of the bird while adding rich flavor to your dishes. However, if you're not careful, you can easily burn the fat, resulting in a bitter taste and unusable product.
Essential Tools
- Heavy-bottomed pan: A thick pan helps distribute heat evenly.
- Sharp knife: For cutting the duck into manageable pieces.
- Strainer or cheesecloth: To separate the fat from solids.
Steps to Render Duck Fat
1. Prepare the Duck
- Start with duck skin and fat from a whole duck or duck breasts.
- Trim away excess meat and cut the fat into small pieces (about 1-inch cubes) to promote even rendering.
2. Set Up Your Pan
- Place the duck fat in a heavy-bottomed pan.
- Avoid overcrowding to ensure even cooking; you may need to work in batches.
3. Heat Gradually
- Turn the burner to low heat; this is crucial to prevent burning.
- Monitor the temperature closely; you want the fat to melt slowly without frying.
4. Stir and Monitor
- Stir the fat pieces occasionally to help them render evenly.
- Watch for the fat to liquefy and the solids to start browning, which usually takes about 30-45 minutes.
5. Strain the Fat
- Once fully rendered, remove from heat.
- Pour the liquid fat through a strainer or cheesecloth into a heatproof container.
6. Cool and Store
- Allow the fat to cool to room temperature before sealing.
- Store rendered duck fat in the refrigerator for up to 6 months or freeze for longer storage.
Comparison of Duck Fat vs. Other Fats
| Fat Type | Flavor Profile | Smoke Point | Best Uses |
|---|---|---|---|
| Duck Fat | Rich, savory | 375°F | Roasting, frying |
| Olive Oil | Fruity, herbal | 410°F | Salad dressings, sauté |
| Butter | Creamy, nutty | 350°F | Baking, sauces |
Pro Tips
- Use a thermometer: Aim for a temperature of around 250°F for optimal rendering.
- Save the cracklings: The browned solids left after rendering can be seasoned and used as a crunchy topping.
- Batch render: If you have multiple ducks, render the fat all at once to save time.
Safety Note
Always keep an eye on the fat as it renders. If it starts to smoke, remove it from the heat immediately to prevent burning and potential fire hazards.
Conclusion
Rendering duck fat is a rewarding process that enhances your cooking. By following these steps, you can achieve perfectly rendered fat without burning, adding a flavorful element to your culinary creations.
Frequently Asked Questions
- What is the fastest answer for “How to Render Duck Fat Without Burning”?
- To render duck fat without burning, start with low heat and cut the duck into small pieces. Stir frequently and monitor the temperature to prevent scorching.
- Does this tip work in a home kitchen?
- Yes — it is written for US home cooks with standard tools, fridge space, and grocery ingredients. No restaurant equipment required.
- Any safety or quality mistakes to avoid?
- Always keep an eye on the fat as it renders. If it starts to smoke, remove it from the heat immediately to prevent burning and potential fire hazards.